How to add and edit a mockup?
Step-by-Step Instructions:
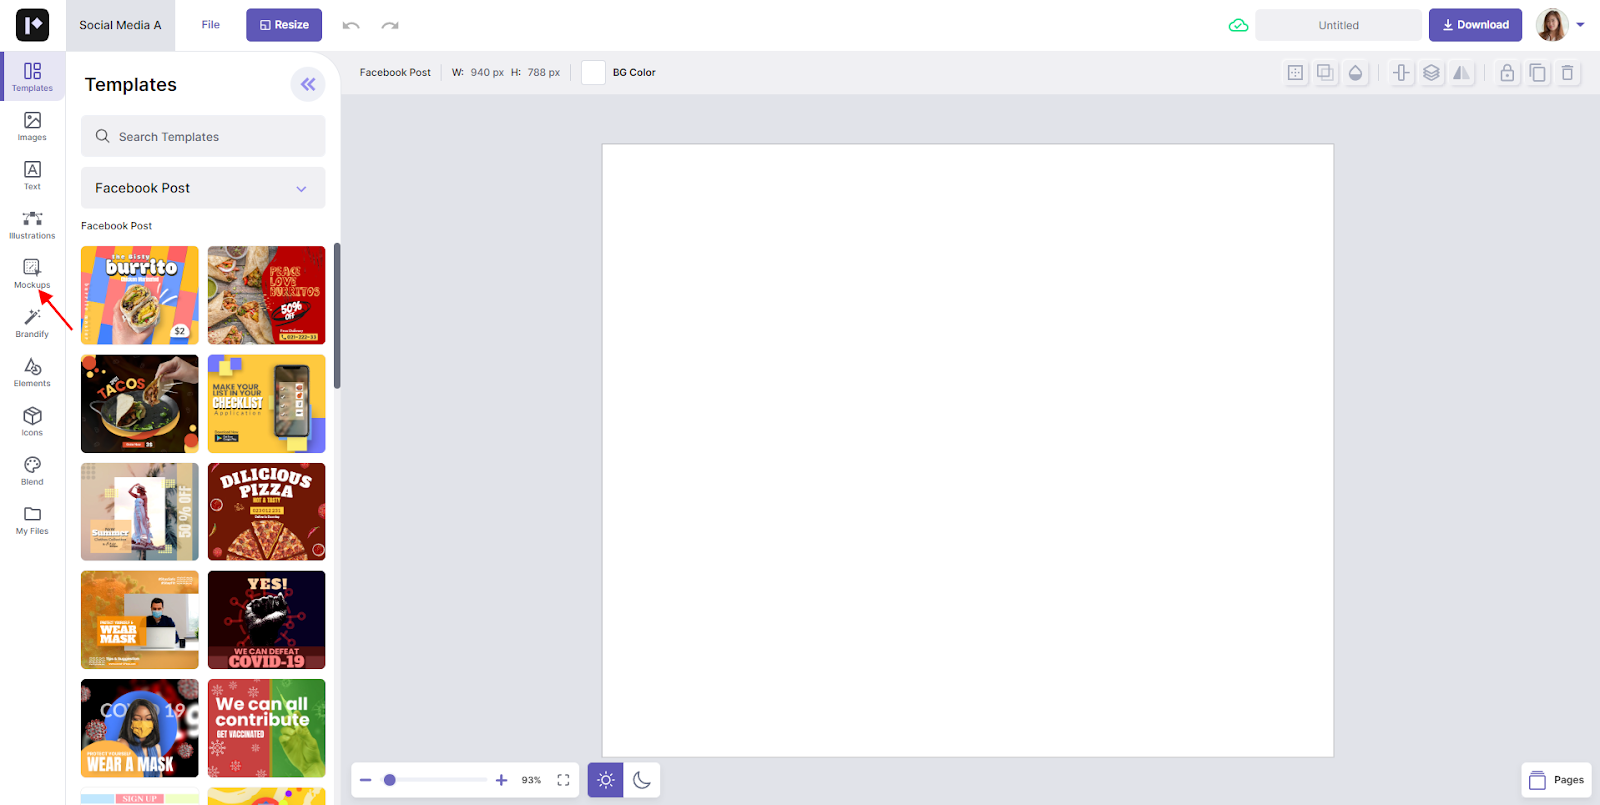
1. To edit a mockup, find and click the Mockups tab on the left sidebar of the editor.
2. The Mockups section will appear. Click the All Categories button if you want to choose more particular mockups, or just scroll down for available ones.

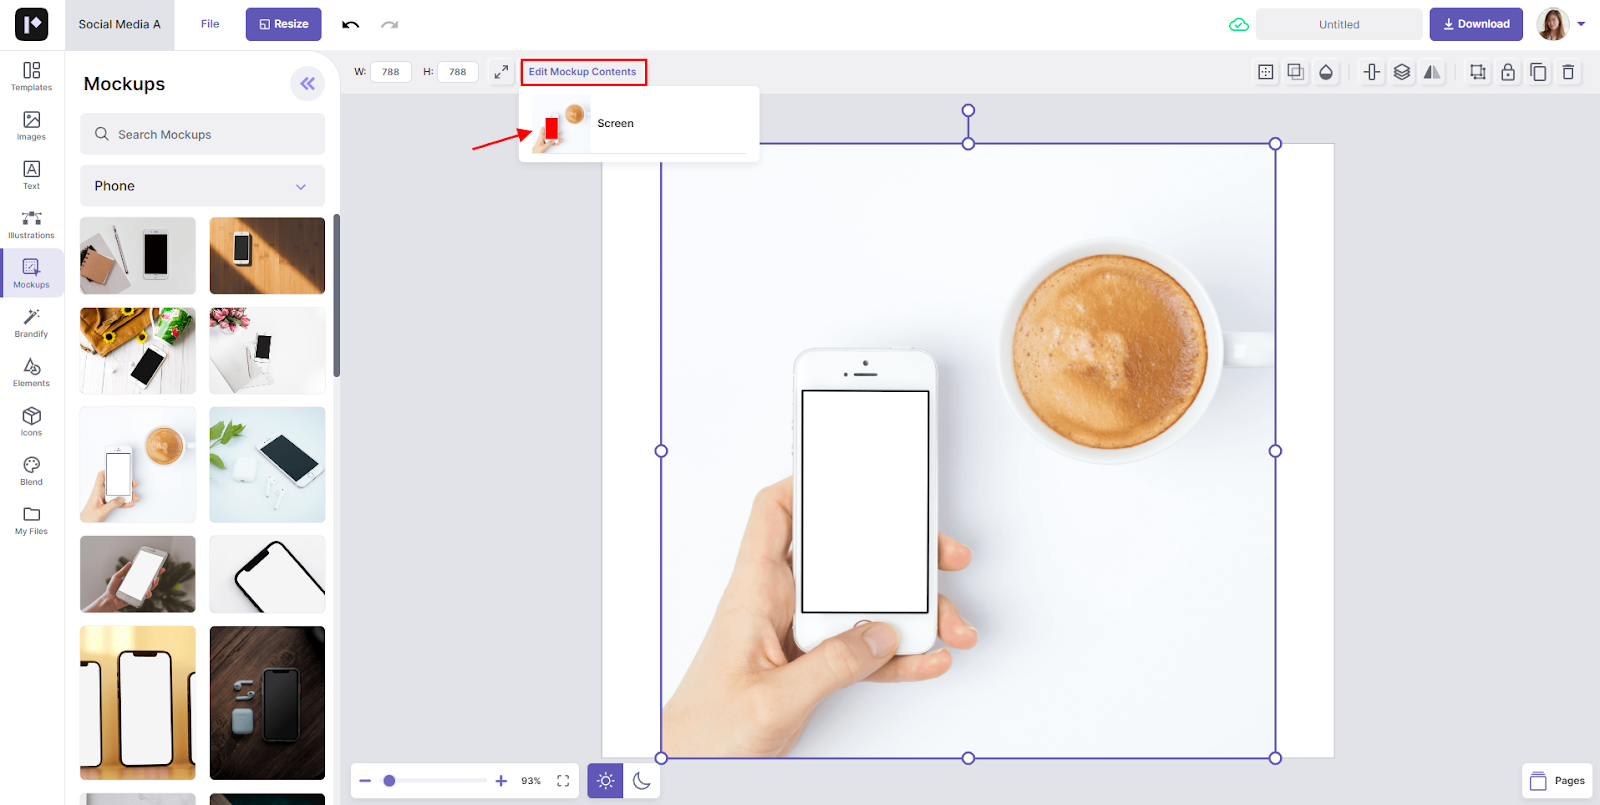
3. Next, click the chosen mockup, and it will automatically be reflected in your design.

4. Upon seeing your mockup in your design, click the Edit Mockup Contents button at the upper part of your design. A small tab will open for you to choose a part of the mockup to edit. From there, you can select and click.
5. After that, you will be redirected to the mockup editing area. You can see the actual look of your mockup simultaneously while editing in Preview on the right side of the screen.

6. You can insert text by clicking the Text button on the left side of the screen.
Note: You can edit your mockup with a wide range of assets such as captions, photos, illustrations, elements, icons and much more!

7. You can edit the colors of your texts through the Color/Border button in the upper part of the mockup editing area.

8. When you are done editing your mockup, hit the Done button below the Preview section, and you will return to your actual design.

9. Here you can see that your edited mockup is now placed in your design. You can then resize or place your mockup anywhere.
